


Most people like
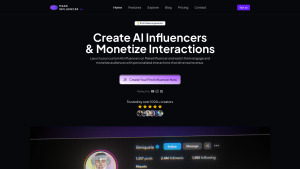
MakeInfluencer AI

 90.8K
90.8K
 50.53%
 2
2
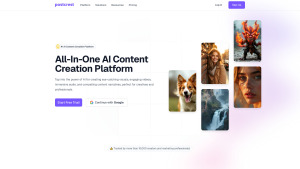
Create and monetize AI influencers for audience engagement.
AI Character
AI Social Media Assistant
AI Bio Generator
AI Content Generator
AI Avatar Generator
AI Profile Picture Generator
AI Chatbot
AI Instagram Assistant
AI Twitter Assistant
AI Facebook Assistant
AI Tiktok Assistant
AD
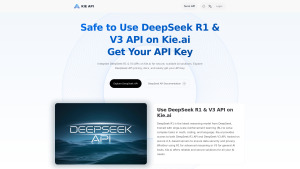
Kie.ai: Affordable & Secure DeepSeek R1 API
< 5K
0
Affordable DeepSeek R1 API with powerful reasoning and robust security.
AI Productivity Tools
AD
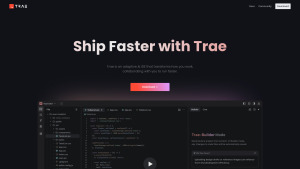
Trae
1M
 44.54%
0
44.54%
0
Adaptive AI IDE that helps you ship faster.
AI Code Generator
AD

DeepMaker AI
< 5K
0
AI Image Editing Tools for Professionals
Text to Image
Photo & Image Editor
AI Tattoo Generator
AI Manga & Comic
AI Background Remover
AI Profile Picture Generator
AI Photo Restoration
AI Photo Enhancer
AI Logo Generator
AI Photo & Image Generator
AI Image Enhancer
AI Icon Generator
AI GIF Generator
AI Emoji Generator
AI Background Generator
AI Avatar Generator
AI Illustration Generator
AI Face Swap Generator
AD
LemonChat
76.7K
 50.9%
0
50.9%
0
Chat anonymously with strangers via text or video.
AI Chatbot
AD
Are you spending too much time looking for ai tools?
- App rating
- 4.9
- AI Tools
- 100k+
- Trusted Users
- 5000+
 WHY YOU SHOULD CHOOSE TOOLIFY
TOOLIFY is the best ai tool source.
Browse More Content
Hardware-cn
Related Articles


Refresh Articles
