


Configurer une eGPU sur MacBook Pro 2013 pour des performances de jeu de haut niveau
Find AI Tools No difficulty
No complicated process
Find ai tools
No difficulty
No complicated process
Find ai tools


Most people like
Postcrest

 5.3K
5.3K
 18.88%
 2
2
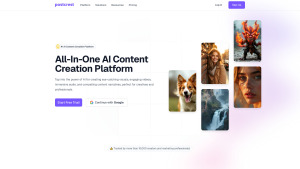
All-In-One AI Content Creation Platform for Social media
AI Productivity Tools
Speech-to-Text
Text to Video
AI UGC Video Generator
AI Video Generator
AI Short Clips Generator
AI Lip Sync Generator
Text-to-Speech
AI Voice Cloning
AI Face Swap Generator
AI Instagram Assistant
AI Twitter Assistant
AI YouTube Assistant
AI Facebook Assistant
AI Tiktok Assistant
AI Social Media Assistant
Digital Marketing Generator
Image to Video
AI Cosplay Generator
Text to Image
AI Photography
AI Selfie & Portrait
AI Photo & Image Generator
AI Avatar Generator
Image to Image
AI Background Remover
AI Profile Picture Generator
Photo & Image Editor
AI Photo Enhancer
AI Music Video Generator
AI Manga & Comic
AI Pattern Generator
AI Image Enhancer
AI Logo Generator
AI Cover Generator
AI Banner Generator
AI Background Generator
AI Illustration Generator
AI Content Generator
AD
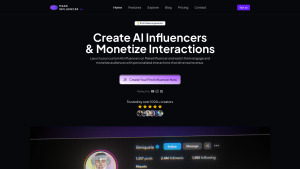
MakeInfluencer AI
90.8K
 50.53%
4
50.53%
4
Create and monetize AI influencers for audience engagement.
AI Character
AI Social Media Assistant
AI Bio Generator
AI Content Generator
AI Avatar Generator
AI Profile Picture Generator
AI Chatbot
AI Instagram Assistant
AI Twitter Assistant
AI Facebook Assistant
AI Tiktok Assistant
AD
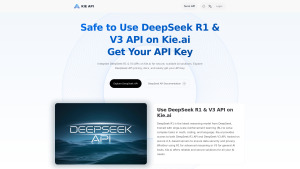
Kie.ai: Affordable & Secure DeepSeek R1 API
< 5K
1
Affordable DeepSeek R1 API with powerful reasoning and robust security.
AI Productivity Tools
AD
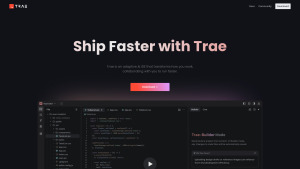
Trae
1M
 44.54%
1
44.54%
1
Adaptive AI IDE that helps you ship faster.
AI Code Generator
AD

DeepMaker AI
< 5K
4
AI Image Editing Tools for Professionals
Text to Image
Photo & Image Editor
AI Tattoo Generator
AI Manga & Comic
AI Background Remover
AI Profile Picture Generator
AI Photo Restoration
AI Photo Enhancer
AI Logo Generator
AI Photo & Image Generator
AI Image Enhancer
AI Icon Generator
AI GIF Generator
AI Emoji Generator
AI Background Generator
AI Avatar Generator
AI Illustration Generator
AI Face Swap Generator
AD
Are you spending too much time looking for ai tools?
- App rating
- 4.9
- AI Tools
- 100k+
- Trusted Users
- 5000+
 WHY YOU SHOULD CHOOSE TOOLIFY
TOOLIFY is the best ai tool source.
Browse More Content
AI NEW FR
- Découvrez les capacités impressionnantes du nouveau ChatGPT-4o d'OpenAI
- Découvrez le modèle IA révolutionnaire GPT-40 d'OpenAI
- Découvrez GBT 40 - Tout ce que vous devez savoir en 10 minutes
- L'impact de l'IA sur l'écriture: pourquoi ChatGPT ne peut pas écrire pour vous
- Guide complet pour créer et optimiser votre chaîne Youtube
- Le modèle phénoménal GPT 40 d'Open AI : une révolution en IA !
- Découvrez ChatGPT-4.0 : La version améliorée qui va vous épater !
- ChatGPT-40 : Défiez-le dans le jeu de géolocalisation en ligne !
- L'intelligence artificielle révolutionne le monde ! Des dénonciations choquantes et l'exil d'une Miss Universo : les dernières actualités
- C’est quoi le SERP Scraping et pourquoi l’utiliser ?
Related Articles


Refresh Articles
